Sunday, October 27, 2013

Carpet bagging

I used to have a truck. Trucks are awful to have when anyone needs to move, but they are very, very good to have when you need to get a room's worth of carpet and padding to the dump. Since I no longer have a truck, my father is visiting tomorrow to help me haul out the carpet from this room. This means I'm on a pretty tight timeline to get this done today, despite the fact that I was up til 630 in the morning comforting a crazy cat and talking to a sick friend.
 
I finished moving the rest of the stuff from my closet and started doing the prep work for the floors. It's unfortunately not as easy as just pulling up the carpet. Well, it could be, but that gets crap everywhere. The first order of business was sealing the door that goes into the bathroom. I'm trying to limit the amount of dust that escapes from the bedroom as much as I can this time.
 
 
Next step, removing the mouldings. I didn't do this in the hallway, and I regretted it the whole time. In fact, it still needs to be done, but will probably wait until this room is done. Sleeping in the living room sucks.

 
Hooray for being moulding-free! While I was pulling up the mouldings in the closet, I am pretty sure I discovered a new species of spider living beneath them. I haven't thought of a name for it yet, but closet spiders are the new Coelacanth.

 
Then the carpet came up. The pad underneath looks pretty, but its grooooosssssss.

 
This is the type of stuff under the carpet. Its not mold, its gritty, gross, sandy dust. It makes my eyes burn even through my safety glasses. It is probably some sort of closet spider residue. It is now safely in Stanley's containment unit. No streams were crossed in the containing.
 
Meanwhile, in the living room, Pharaoh is concerned at the amount of progress the bedroom is taking. He stares longingly in that direction all day. You can also get an idea of exactly how much crap had to be moved out of the bedroom. Hopefully the heating guys will be able to maneuver.


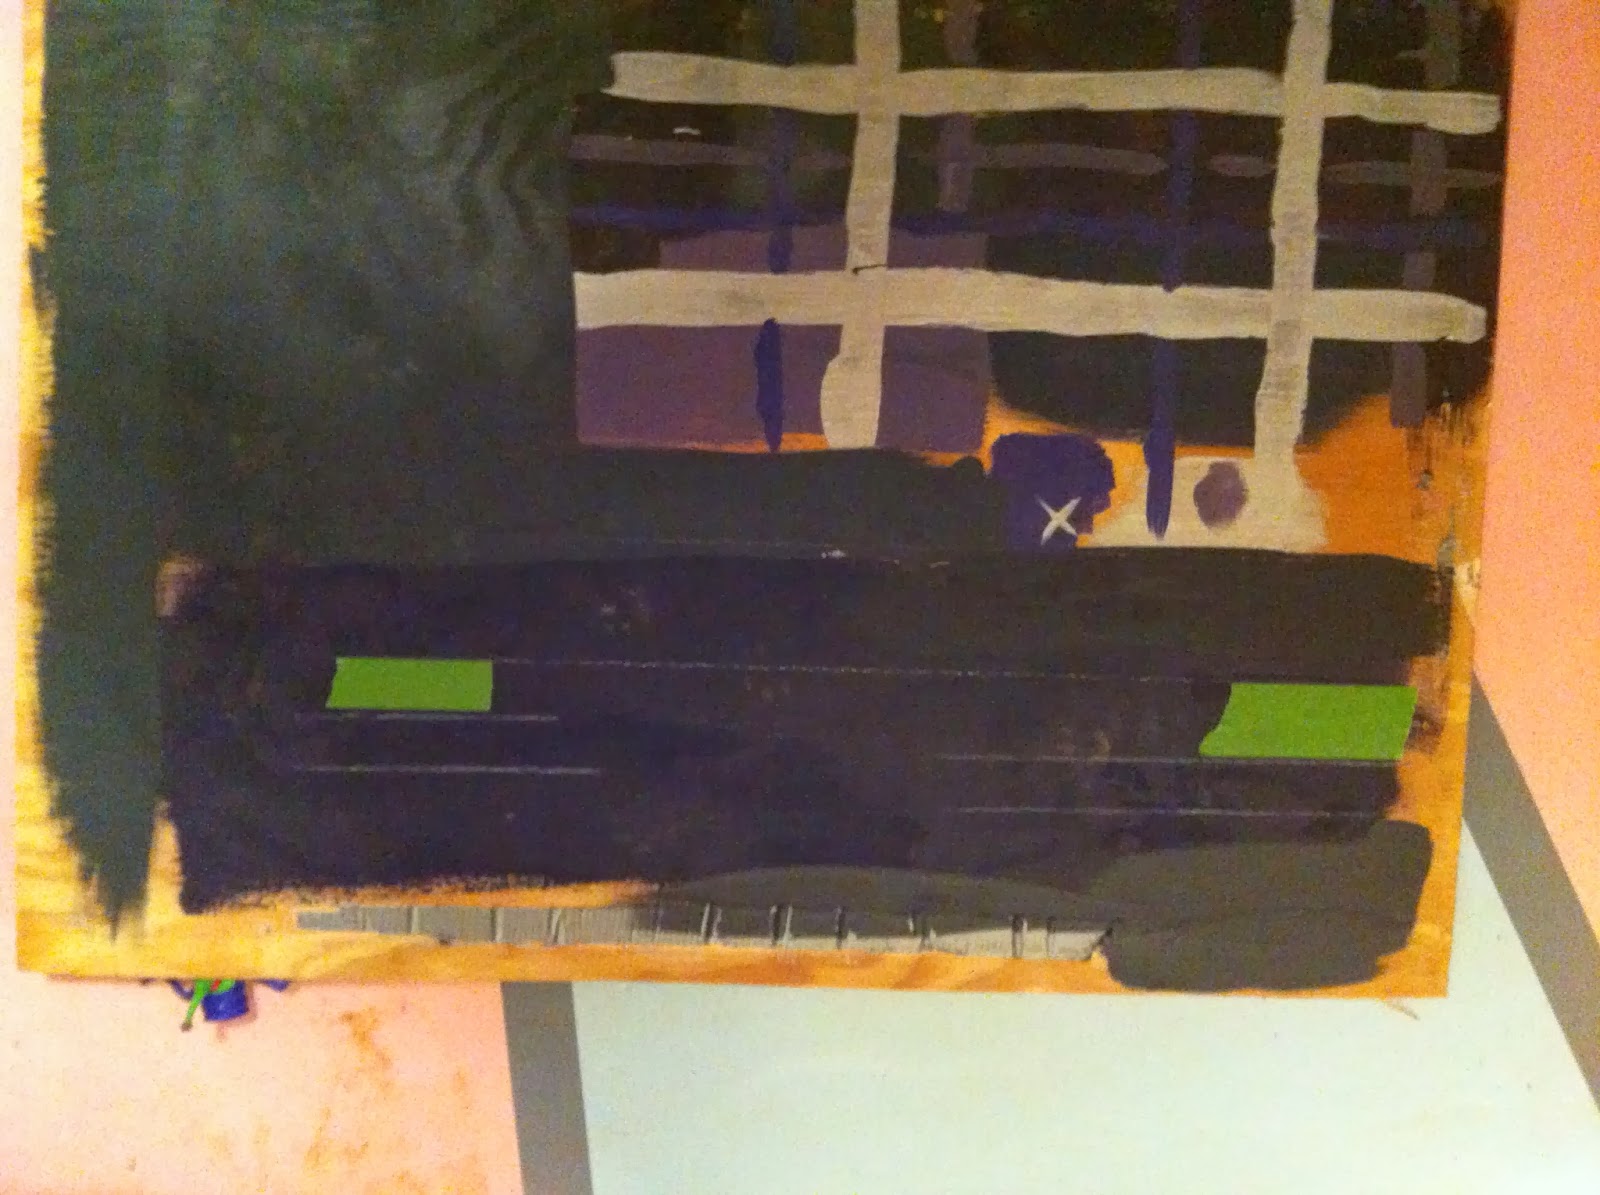
And this is the result for today: a big pile of garbage. I only got about halfway through the tack strips, but fortunately I can fit those in my normal garbage can, so I'm not as worried about getting them up before tomorrow. 


Eviction

Apparently that thing about rest and the wicked is true. Next week I'm having a new heating system installed. It'll give me actual air conditioning instead of my aging window unit, and I'm really excited about it. Except for the fact that I'm also starting on the Master Bedroom floors. This means moving ALL of the furniture out of the bedroom, including the clothes in the closet and drapes and whatnot.
 
I got about half of it done on Saturday, though it took me an extra day to move the mattress. I have two cats, which do not get along. As a result, Pharaoh lives in the master suite and Zulu has charge of the rest of the house. This seems to work out fine for them, though Zulu has attempted to annex a few times. As the bedroom has become more and more empty, Pharaoh has gotten progressively more nervous. However, he seems content to assume that I'll leave him in the room even when its empty. He's there on the mattress somewhere, looking fearful I'm sure.


I got the room effectively empty, and moved my mattress to the bedroom, which is where I'll be living for the duration of the floor redo. It's incentive to finish quickly, though I'm assured by a friend in the know that it's Coke Fiend Chic. Here's the room without much in it.
 
 
But wait. What's that dark spot in the corner? Some kind of weird shadow? 


Some kind of weird, furry shadow?


Why no, its the saddest cat ever, who refuses to leave the bedroom.


He stayed in this corner until about 4AM, at which point I dragged him out for the THIRD time and he decided staying in the bed might be ok, mostly thanks to his favourite stuffed animal, a cow that he constantly kneads. He gets a guilty look on his face whenever hes doing it, and its kinda creepy... but at least he's out of the bedroom. It's going to be a pain to managed the two cats on this one, I can't wait to be done. Definitely motivated to work faster on this one.


Thursday, October 24, 2013

RolyPolyUrethane


Hooray, its time for the last step. I put four coats of the same floor poly I used on the clown room floor down today. Each coat had to dry for two hours before I could recoat, so I wound up painting myself into the machine room and hanging out while I waited. Here's the first coat when it was wet.


The waiting game got dangerous when I got hungry and realized that I couldn't get to the kitchen, nor could I get to my keys/wallet/shoes. Eight hours later, and I am finally back upstairs and posting the mostly final pictures.

 
The only things left to do are fill up the closets and put on the doors, and lower the moulding. I'll probably do that tomorrow, but it won't look much different than this. It looks super shiny right now, but that should dull down a bit. In person the design looks cool.


Next stop, the master bedroom! I'm going to try to redo the floor there before the end of the year. It means moving a lot of furniture, and sleeping in the living room, so I have considerable incentive to do it quickly. In the meantime, off to chase unicorns!

Wednesday, October 23, 2013

Touching up

 
So the floor is mostly done, I went through and touched up some sketchy spots. Going so long without sealing it, it's picked up a lot of dust and random gunk. It's hard for it not to, since its the only way to enter and leave the house. I was going to try to seal it today, but wound up just doing the touchups and fixing little mistakes in the stencil pattern.
 
Overall the stenciling is super forgiving, and was fairly easy to do. You can see the touch up spots because they're still wet, but hopefully they'll blend in by tomorrow when I try to seal it. I also painted parts of the moulding, its not completely done, but I had extra paint to use when I was stenciling, so I used it up on the moulding. Once the floor is sealed, I'll take down the mouldings and finish painting them before lowering them. I'm just happy to not have them bright orange in the mean time. A bunch of pics follow for those who asked.


Monday, October 21, 2013

Stenicillin

So this is my first time stencilling. The internet informs me that it will be a breeze, but the internet is full of lies, blogging housewives and fake lesbians, so I'm not sure how much I trust it. I lined up the stencil in the middle of the floor to start with. This turned out to be a huge mistake, because of the spacing. More on that later. 
 
 
Once the stencil is placed, its just a matter of getting most of the excess paint off the roller and rolling over it. The site I was looking at for instructions emphasizes using a brush/roller that looks nearly dry. This totally goes against my inner need to load my brush with tons of paint (for efficiency!) and was a struggle for me to dab it all off, but was very good advice.  The areas where I used a little more paint were problematic.
 
 
Because the roller is mostly dry, the design dries pretty quickly. I painted, then waited three or four minutes, then painted again, waited a few minutes and moved the stencil. It was also boring and annoying. 

 
Here's the first set. I wish I would have gotten a smaller version of this stencil, as it was difficult to maneuver in the small space. Initially I had intended to leave the spacing as it is so that the design looked like a runner down the center. It's hard to see, but the design doesn't quite finish on the left hand side, so I had to go back and paint the left side of the little boxes with diamonds in them. 

 
Rinse and repeat, and I made it to the other end of the hallway. Obviously it still needs some filling in. 

 
When I was filling in the doorway space, I decided I preferred the pattern going all the way to the border, so I started filling in both sides as well. I like the way it looks like tile. Originally I was going to use silver paint for this design, but I like how understated it is with the grey.  I still have a few places to fill in, but I'm hoping to start sealing it tomorrow. The gross yellow walls, door, and mouldings are also killing me, they may be the next order of business.


Sunday, October 20, 2013

Hallwaytron

It's been three days since the purple was painted last, so today's the day to start with the frog tape. The first order of business, as usual, was making sure that curious paws stayed out of the way. This was accomplished by way of fire. 
 
 
Next was time to wash the floor. As the only entry to the house, it gets super dusty and covered with tracks. Cleaning up all the dust that was on this floor from the sanding made more dust and gack, so it took much vacuuming, brooming, and finally a sponge bath. 
 
 
I did some testing of patterns on my trusty test board. I was trying to decide how big i wanted my stripes. 


I decided on the first stripe being exactly the width of the level I was using as a straight edge. This made measuring a lot easier, and it's a good width for the room I think. I traced down the sides of the walls using a water soluble white pencil and the level. Then I put a line of thin frog tape down the outside of my lines. 

 
The level trick worked so well, I decided to turn it on its side for the next stripe. This makes it approximately the same width as the frog tape. So I lined it up with the tape and did some more pencilling. 

 
Then I laid more tape on the outside of that line. I'm a little concerned that the frog tape isn't sticking as well as it did in the clown room, because of the non-skid texture. I think I may have to do a lot of fixing to these lines, but I'm going to give it a try and see how it goes. 

 
Once all the tape was down, my hallway looked like something from Tron. This pleases me. Now I am kind of sad I didn't choose lime green as an accent colour. My hallway fights for the users!


I painted the grey parts of the border over the tape, ruining its Trony-goodness.


Two hours later the paint was partially dry, so I removed the tape. I couldn't handle waiting until it was all the way dry to see if it was a travesty.  Overall, its not too bad, stripey and understated. Some of the white pencil marks are still showing, but those will wipe up during the next cleaning. Next step is to fill the center section with my stencil. I'm going to wait until the paint is actually dry before I start that process. I like it plain purple, but I think it will show a lot of dirt this way, so I'm going with a pattern to help camouflage grossness.


Wednesday, October 16, 2013

Faux Twilight Purple

The floor is now approximately as smooth as that really smooth spot behind a kitten's ear (I don't like babies. I don't like similes about babies either.) So it's time to paint, hooray!
 
In the ongoing saga of the paint, I went to a Home Despot and they told me that they could easily match the Valspar color, that they already had them all in their system. I talked to a really nice lady, who gave me a little sticker with the formula and told me to come back any time and that porch paint was no problem. At the time, I was waiting for Valspar's response (they sent me a check for $25 to cover the samples I'd purchased) and didn't buy the paint.
 
When I went to another Home Despot, the teenager at the paint counter didn't really feel like mixing up my paint. Which was not the response I was looking for after having been through this with Valspar. She told me they couldn't match to the Valspar colors and then that they couldn't do it in porch paint. So I gave her my fancy sticker and asked her to mix it. She huffed and puffed and gave me my Twilight Purple.


I was a little concerned after this that the color wouldn't match as well as the first woman had told me, but its turned out fine. The Behr paint is actually thicker than the Valspar, so the first coat went on pretty well. Here it is wet, without the edges done. 


Dry, it is way less shiny, which makes me happy. In person its also a bit bluer. It definitely makes the whole hallway look yellower, which I'm not wild about. I'm now adding painting the walls in the hallway to my to-do list.

 
I managed to finish the first and second coats without Zulu's help, though there's a little blank spot at the bottom of the stairs where I had to put the barrier to keep him off of it. Hopefully I can do that part without any pawprint incidents. 


The floors of the clown room are super slippery, so I added this stuff to the second coat in the hallway. It doesn't seem to have changed the paint color at all, though I'm not sure if the poly top coat is going to negate the effects. It has the bonus of helping to hide the little pieces of grit that my paintbrush was pulling out from under the moulding. I vacuumed under the moulding twice and still didn't manage to get it all out. Next time, I think I'll remove the moulding as part of the sanding, instead of waiting until the floor is done.  This time, I am going to give it a coat of non-orangey paint while it is off of the wall. I wish I could find something else to replace it.
 
The next step is to tape off some borders using frog tape, and then add the stencil.
 
Update: My friend Jason wants you all to know that he kicks ass. I'm not sure why, but shout-outs are shout-outs.

Saturday, October 12, 2013

Cat sitting

This week my friend Heather brought over a lovely little Ikea table that had been languishing in her garage for me to use as a kitchen table. Zulu immediately adopted the table and has been pretending that he is some sort of Kitty Kaiju, destroying the shadow of neo-Tokyo. Apparently this game is super exciting.
 

The table is great, but one of the chairs has some stains that Heather swears are from her son's Spaghetti-O's. So while I am waiting for the floor to dry and making sure that Zulu doesn't lick off the filler, I decided to work on covering them.
 
I bought some nice outdoor fabric at Joann from their close out section. Originally I had planned to make those removable seat cushion things that your grandmother has. I wound up deciding against this, in favour of recovering the seats completely. I've never done this before, so we'll be winging it.
 

Step one: remove the cat from the table. Rob tried telling Zulu that "tables are for cups, not butts." He swore up and down that his parents used to say this to him, but that he thought it rhymed. Then he remembered it was "glasses, not asses."


Step Two: Remove the seats from the chairs. This meant unscrewing four screws, and was pretty easy. You can see the Spaghetti-O remnants.


Step Three: See step one.

 
Step Four: Repeat step one, again. Maybe try luring him way with food this time.


Step Five: I traced around the edges of the seat using a sharpie. The fabric is folded double, so this should result in two seat covers. I started over once, because I realized I hadn't really lined up the pattern very well at first.


Step Six: Add an inch and a half to the traced pattern.  I added marks for this every six or so inches all around and didn't bother cutting the little cut outs for the corners. The shadows keep coming and going, because I'm in Seattle and the weather changes every two seconds. It's raining now.
 
 
Step Seven: Wow, that food trick worked pretty well. I connected the dots using a level for a straight-edge, because it was handy. (I keep the level in the liquor cabinet because it makes me laugh. It's totally straight-edge.)

 
Step Eight: I cut along the super-straight lines 


Step Nine: I set the seat on the fabric...

 
...And started stapling it around the edges. As I did this, I realized that the weave of the fabric is fairly loose and the edges are probably going to fray.

 
Step Nine Redux: I hopped in my time machine and went back to just after step eight, and instead of just attaching the fabric and putting fray check on it, I ran it through my serger. This should keep it from fraying too badly. I may also have stepped on a butterfly or two. 

 
Step Ten: Reattaching the seat to the chair. The only parts that show are the corners, because I didn't cut out the little notches. I'm not too worried that anyone but my mother will be checking under the chair though, so I don't really care.

 
End result: Ta-da! Fancy Seat. The corners are a little wonky, but again... don't care.

 
My lovely assistant also approved of the new covers.
 
 
After I had rinsed and repeated for the other chair, I found I had a lot of excess fabric. Initially I had picked up three yards so that I could make cushions and/or slip covers for the whole chair. So I used the excess to make:

 A Tablecloth

 
A table runner (I'm not sure what these do, exactly, but I think it makes my table look like some sort of religious officiate. If I ever get married, I hope the table performs the ceremony.

 
And some placemats and napkins. All of these need to be pressed and hemmed badly, but for ten minutes of work I sure have a lot of table coverings now. I may be giving them away as party favours soon.